TLDR: I provide a “chat with your docs” framework for using a cloud environment to have a local embedding model vectorize an obscure fiction book and then have a Llama-based text generation / LLM model answer questions about it. This approach is easily extended to read PDF’s or other proprietary and domain-specific information like financial reports, legal decisions, repair manuals, performance reviews, etc… Applications are endless. Code on Github.
Intro
One of the main use cases that seems to be on every CIO and CDO’s mind is how their organizations can easily and safely combine LLM’s with their proprietary and private domain-specific data. Essentially, how can we enable a “chat with your data” experience like you get with OpenAI’s ChatGPT without risking exposure of that data to 3rd parties?
There are two primary approaches to this and we’re going to go step-by-step on how to use one of these approaches right now!
The first approach is model fine-tuning. This is essentially modifying the weights of a model to reflect your information. It requires a fair bit of pipeline engineering and compute power, but is certainly a feasible direction, especially if you want to redistribute or host the model on the “edge”.
The easier method, and the one we’ll look at in this blog post, is Retriever Augmented Generation. Essentially we use a pre-trained language model, and provide it access to our information through vectorized embeddings (which is just a fancy way of saying our information gets organized so the model can find it easily.) We ask the model to use the additional information to then answer our questions. Now, for our purposes, we’ll do this locally (meaning without a separate and dedicated data store), but just be aware that there is an entire field (referred to as vector databases) that is exploding around how we can leverage a database type approach to storing these vectorized representations of our data. Check out Pinecone or pgvector for a starting point.
To demonstrate how this works, we’re going to use llama_index which will operate on a public domain e-book in epub format that contains some short stories. We’ll ask the model a question about the stories before we provide access to the book, and then we’ll repeat the question after having it ‘read’ the book. We’ll see how the RAG process improves the model’s ability to reason and answer questions. One could easliy swap out the e-book for a PDF, text files, or more. Extensive work is being done in this space as well and you can refer to LlamaHub for more info.
Runpod
For our compute environment, we’ll be using runpod.io to do this work. It’s a great way to inexpensively interact with the GPU’s and storage required for a lot of cutting edge AI work. Assuming you complete this exercise within 90-120 minutes (and that would be a very slow pace) you can plan on spending $3-4. I would suggest that you create a runpod.io account and load ~$5-10 worth of credits and experiment a bit. This one use case is only scratching the surface of what can be done with runpod! By the way, I should call our here that I have no relationship whatsoever with runpod, there aren’t any affiliate links, I’m just a fan of what they do.
Go get your runpod account sorted out and come on back. I’ll wait!
Let’s Go
The first thing we want to do is create and deploy network storage (referred to as network volumes). This will allow us to store data after we shut down our compute pods and move it between any additional pods we create in the region. The model we’re going to use is 60GB+ so it pays to be able to download what we need once and then carry it with us across multiple environments as we need it.
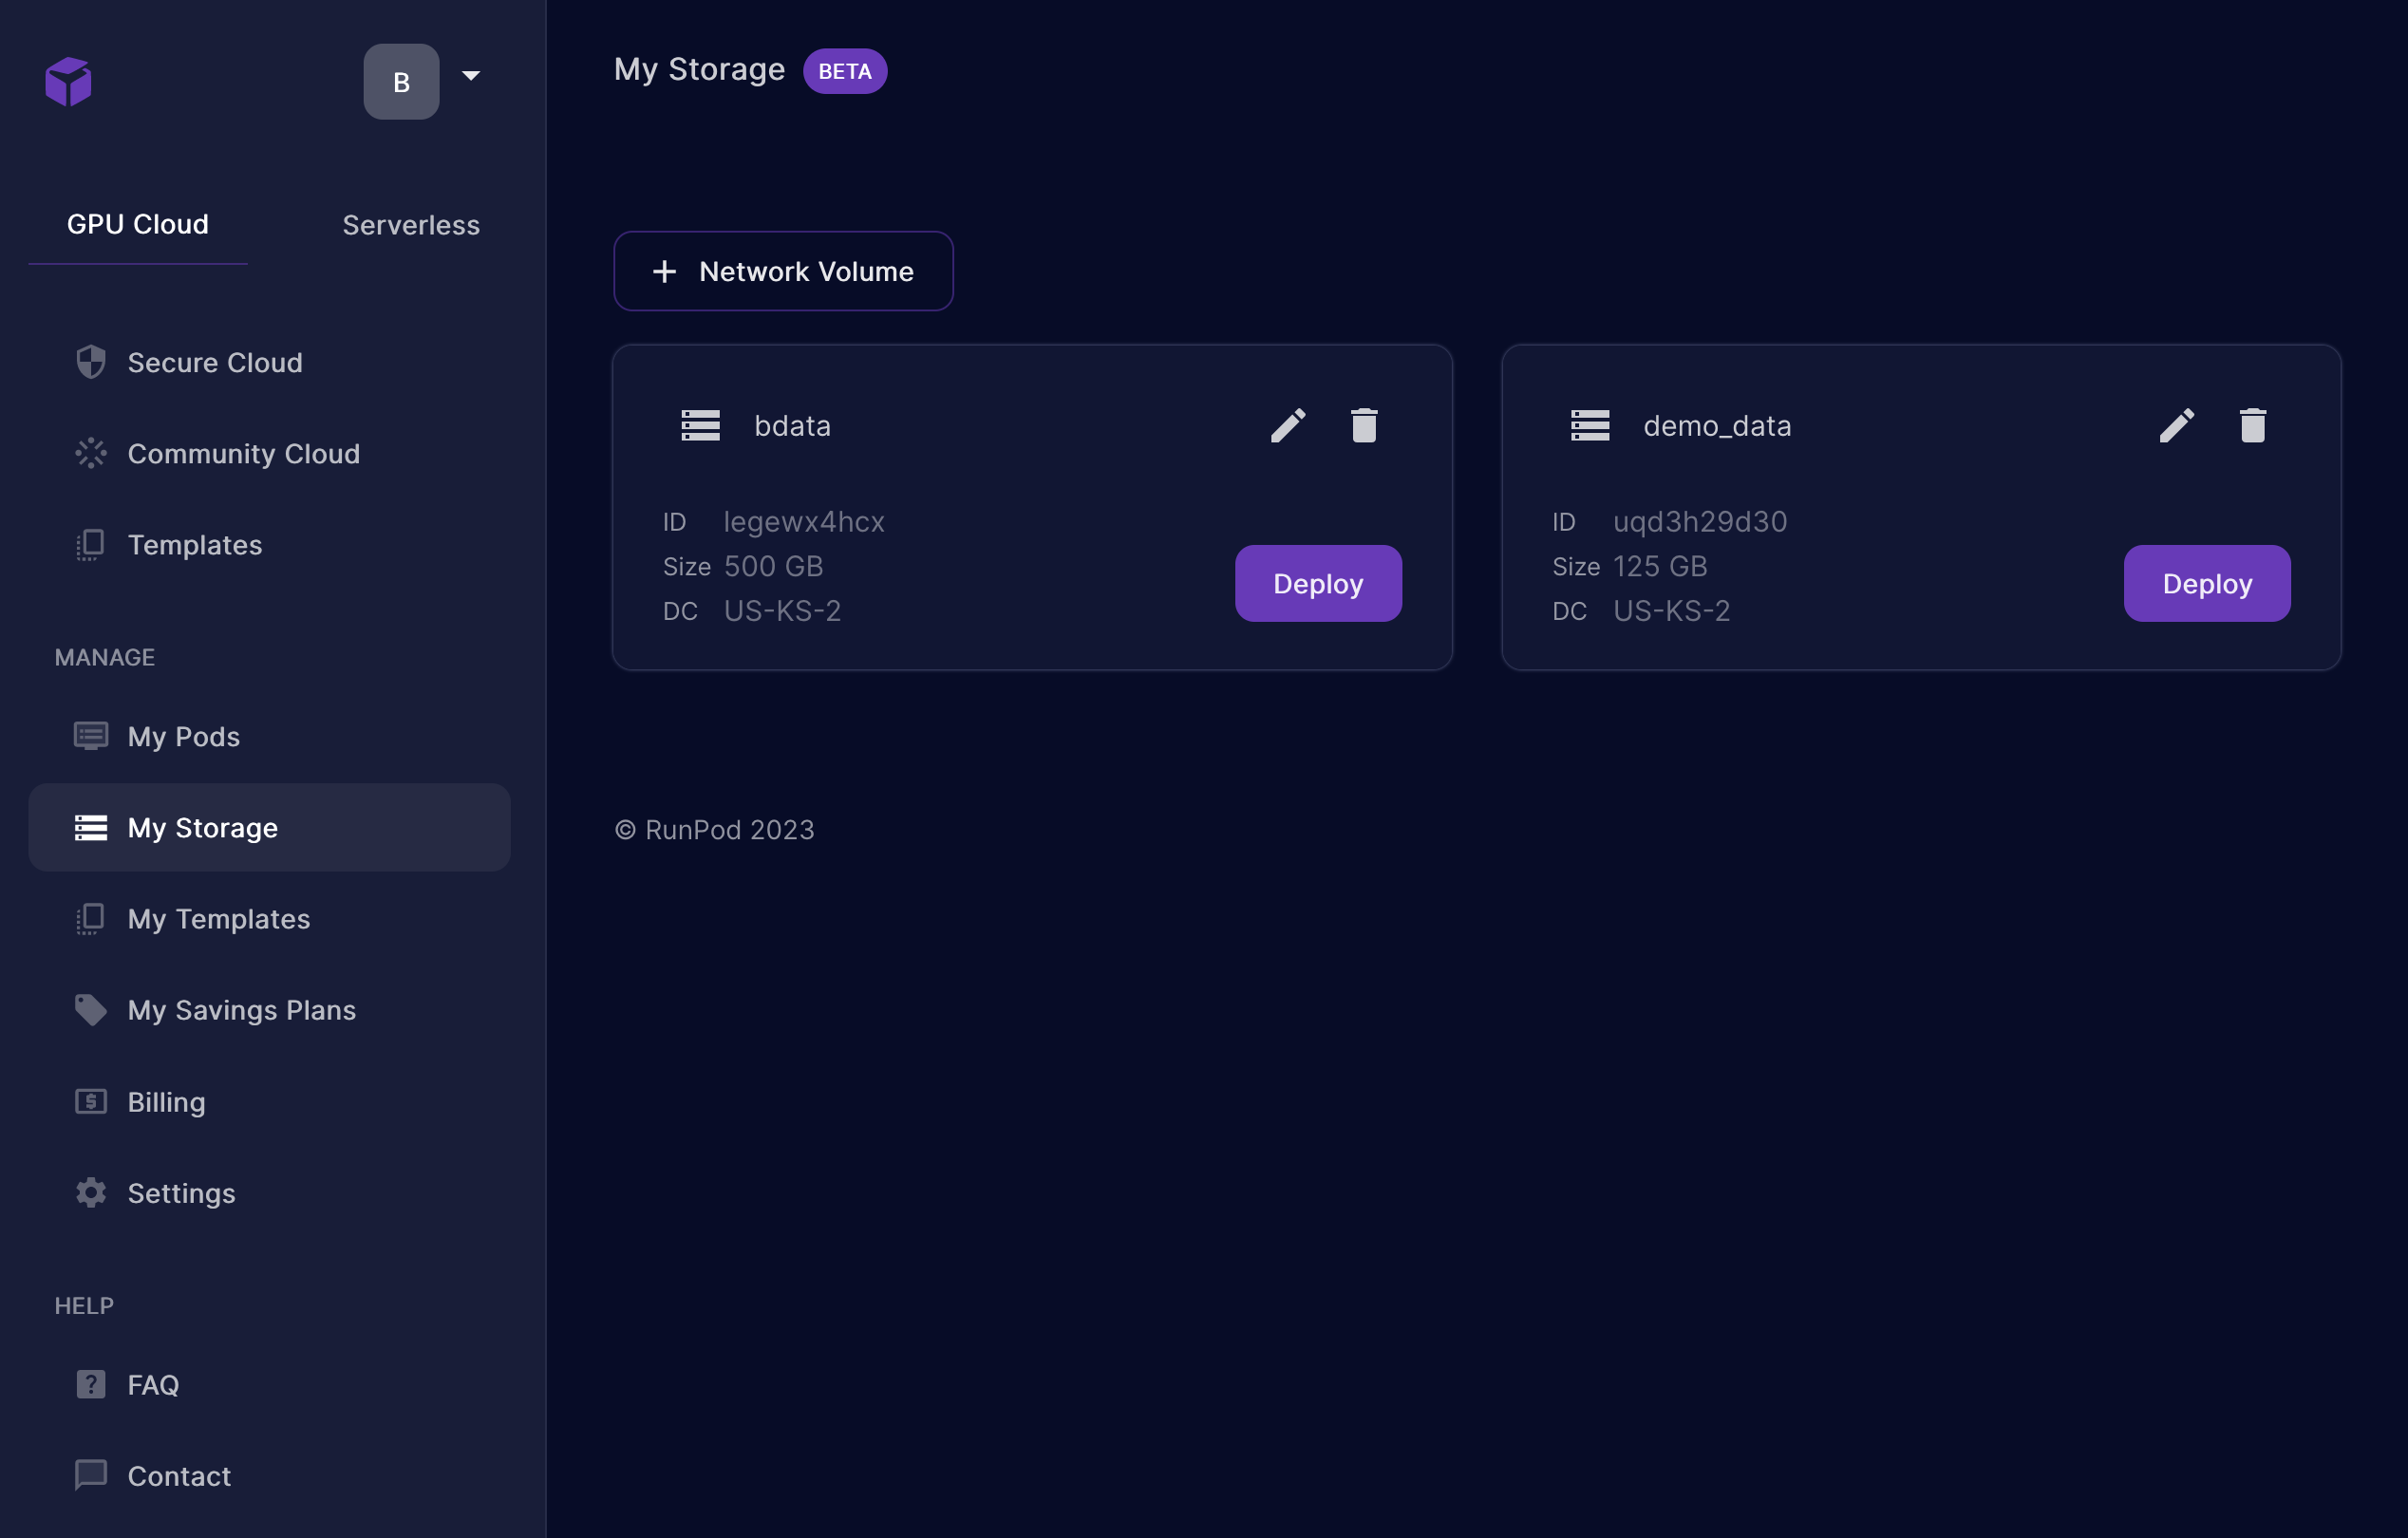
Create your storage with at least 125GB (you can expand it at a later date if you wish!) From the image below, you can see I have two network volumes. The one I’m using for this work is named “demo_data”.

Once you’ve created your storage you can click on the purple “deploy” button to deploy it to a compute pod. Runpod will bring you to the screen to define the compute pod once your storage has been deployed. Just like any container, you’ll need to select your OS / base image. The image I used for this blog post is listed below. I also used a pod with the following configuration, so choosing the same, or larger will ensure you can complete this work. If you choose something smaller, you may not be able to run the process I’ve outlined below.
1 x RTX A6000
14 vCPU 125 GB RAM

Make sure you choose a PyTorch image for your pod, I chose “RunPod PyTorch 2.01” ( runpod/pytorch:2.0.1-py3.10-cuda11.8.0-devel ). The image used has everything we need to get started, including Jupyter and the GPU drivers / software already configured. This alone can save you hours of time!

Go ahead and click Continue and then “Deploy”. This will take 1-2 minutes.
Once your pod has booted up, expand the details of your pod and look for the “Connect” button. Hit that, and then choose “Connect to Jupyter Lab”. That should open a browser window to our Jupyter notebook environment so we can start coding.

Create a new notebook, and then in our first cell we’ll download the required libraries. This may take up to 4-5 minutes depending on a variety of factors.
!python -m pip install --upgrade pip
!pip install transformers
!pip install llama_index
!pip install accelerate
!pip install sentence_transformers
!pip install langchain
Then we create a cell for some quick imports, setup logging and set some environment variables. I should mention that conveniently, runpod has mounted your network storage volume in the path /workspace which is why we’re setting our cache directory variables to that location.
import logging
import sys, os

logging.basicConfig(stream=sys.stdout, level=logging.INFO)
logging.getLogger().addHandler(logging.StreamHandler(stream=sys.stdout))

from llama_index import VectorStoreIndex, SimpleDirectoryReader, ServiceContext
from llama_index.llms import HuggingFaceLLM

os.environ['TRANSFORMERS_CACHE'] = '/workspace/cache/'
os.environ['HF_DATASETS_CACHE']='/workspace/cache/'
Now in another cell, we define our standard prompt for the model. Prompts are extremely important and define how we interact with our models. You could write an entire book on prompting strategies and how certain prompts work better than others. For now, I suggest you just copy my approach below.
from llama_index.prompts.prompts import SimpleInputPrompt

system_prompt = """<|SYSTEM|>A chat between a curious user and an artificial intelligence assistant.
The assistant gives helpful, detailed, and polite answers to the user's questions.
"""
# This will wrap the default prompts that are internal to llama-index
query_wrapper_prompt = SimpleInputPrompt("<|USER|>{query_str}<|ASSISTANT|>")
In a new cell, we’re going to initialize our model object, which will reach out to HuggingFace and grab everything we need. If you’re not familiar with huggingface I covered this in a prior post, but definitely check it out. It’s like dockerhub+github for AI. Since the process will download a little over 60GB this may take some time.
import torch

llm = HuggingFaceLLM(
    context_window=4096,
    max_new_tokens=256,
    generate_kwargs={"temperature": 0.0, "do_sample": False},
    system_prompt=system_prompt,
    query_wrapper_prompt=query_wrapper_prompt,
    tokenizer_name="ehartford/Wizard-Vicuna-13B-Uncensored",
    model_name="ehartford/Wizard-Vicuna-13B-Uncensored",
    device_map="auto",
    stopping_ids=[50278, 50279, 50277, 1, 0],
    tokenizer_kwargs={"max_length": 4096},
    model_kwargs={"torch_dtype": torch.float16}
)
service_context = ServiceContext.from_defaults(chunk_size=1024, llm=llm)
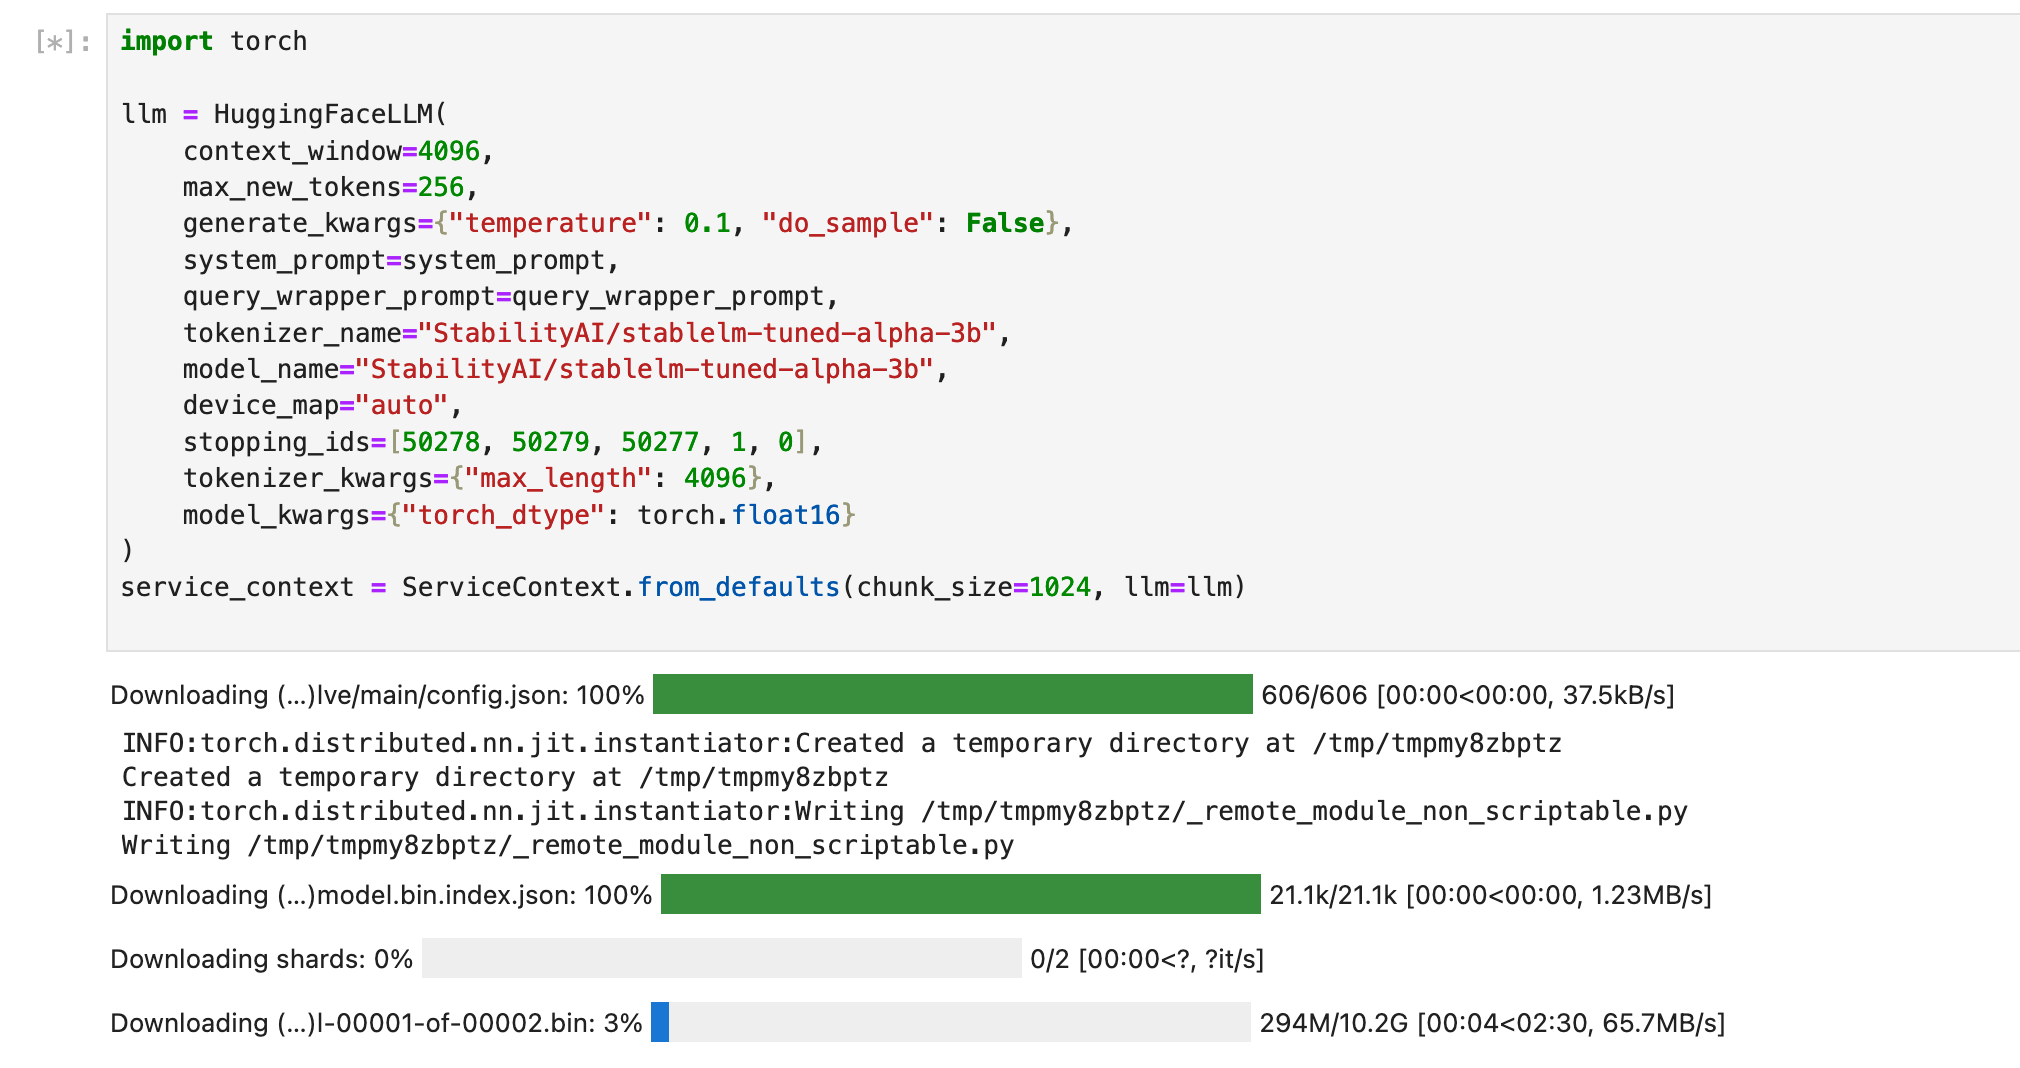
If all goes well, you should see something similar to below. (The below screenshot does not reflectthe code above, it’s from an older version of this blog post, so don’t worry if it doesn’t match exactly.)

Before we move on, let’s take a minute to talk about the details of this model. This is a combination of the principles behind two different Llama fine-tuned models, WizardLM and VicunaLM, and this combination was originally merged by June Lee. You can find more details on this interesting combination here. This particular model is an uncensored model (meaning no guardrails), and the uncensored portion of the work has been completed by Eric Hartford.
With that background out of the way, we’re going to upload our epub book that we’ll use as an example document to teach our LLM about. This a public domain collection of science fiction works from the 1930’s. As a a side note, when I tested ChatGPT 4 with the same query as we’ll use below, it was aware of the short story, but couldn’t provide any details about the actual plot lines or characters.
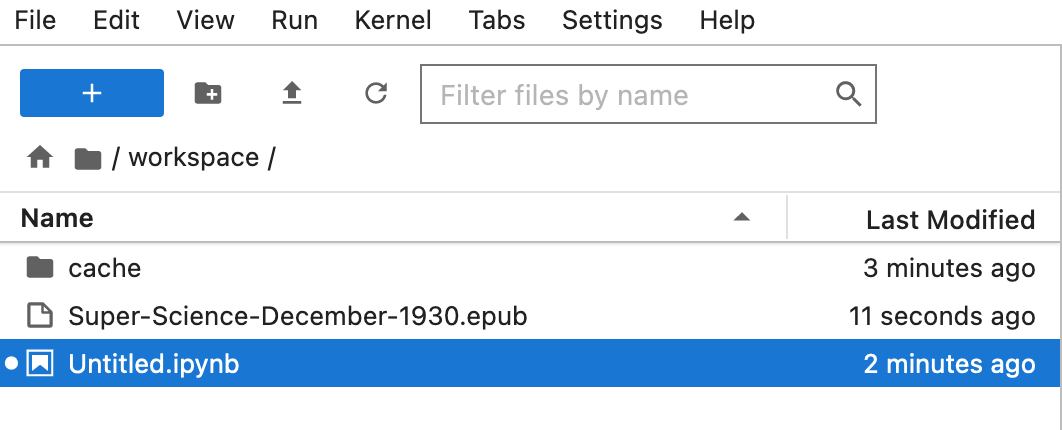
We upload a file using the upload button (up arrow icon) on the Jupyter window. Again, you can get this file from my GitHub repo. Upload the epub book to the same directory as the notebook. You can upload it to another directory but you’ll need to modify the code to locate it.

Next, we’ll define our embedding model. This is how we keep our internal data private. In most use cases that you may have seen, the approach will call out to OpenAI’s API endpoint, potentially risking data leakage and exposure. We avoid this as we’re leveraging the e5 embedding model locally, and not calling out to any other provider to vectorize our private and proprietary information (or in this case, our public domain e-book). Let’s do this in a new cell.
from pathlib import Path
from llama_index import download_loader
from langchain.embeddings.huggingface import HuggingFaceEmbeddings
from llama_index import LangchainEmbedding, ServiceContext

# define the e5 embedding model

embed_model = LangchainEmbedding(
    HuggingFaceEmbeddings(
        model_name="intfloat/e5-large-v2",
        model_kwargs={"device": "cuda"},
    )
)

service_context = ServiceContext.from_defaults(chunk_size=1024, llm=llm, embed_model=embed_model)
Before we use the embedding model, however, let’s check in with the model and see if we can get any existing information about our document / book. In a new cell, lets create our test prompt.
resp = llm.complete("Summarize the short story 'Gray Denim' by Harl Vincent.")
print(resp)
In this case we get a response, but it’s just hallucination (the actual term we use when an LLM just makes stuff up!). You’ll have to take my word for it (or read the story yourself) that the story about a man in love with his powerful grey pants is all nonsense.

Now let’s “read” our book. In a new cell, we’re going to load the epub and use our embedding model to vectorize the data. Note that the last line is optional, but allows you to persist your vectorized embeddings on disk for later usage in the case of larger collection of data.
EpubReader = download_loader("EpubReader")

loader = EpubReader()
documents = loader.load_data(file=Path("Super-Science-December-1930.epub"))

index = VectorStoreIndex.from_documents(documents, service_context=service_context)
index.storage_context.persist(persist_dir="./sfbook")
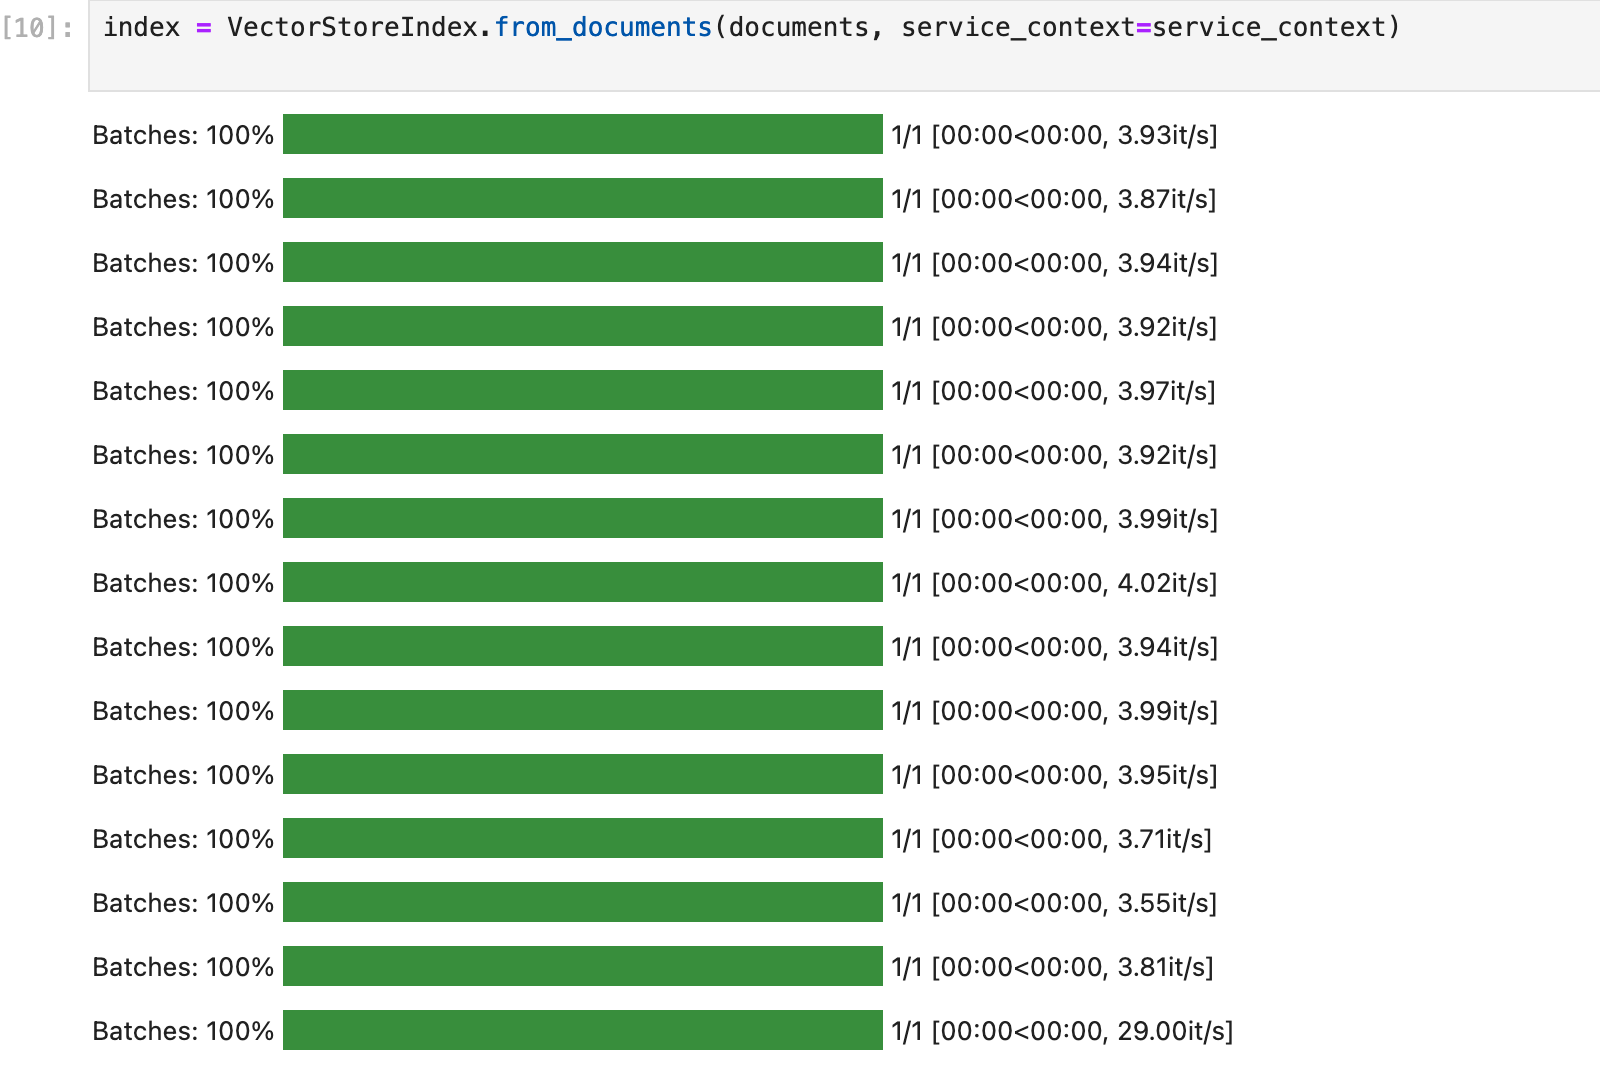
At this point you should see some progress bars appear referring to “batches” as we load our data into vectors that will be accessible to the model. We refer to this grouping of vectors as an index.

We can now create a new cell and define a query engine object using our index and then pass it the same question as before.
query_engine = index.as_query_engine()
response = query_engine.query("Summarize the short story 'Gray Denim' by Harl Vincent.")
print(response)
After running this cell we should get an accurate summary of the story and be able to ask additional follow-up questions.


Wrap-Up
That’s all there is to it! Not too bad, huh? Obviously the applications of this framework are wide. I doubt too many people are truly interested in automating book reports (outside of younger students!) but hopefully you see how powerful this could be when applied to annual reports, public filings, legal decisions and more!
You can download the ebook as well as the code in raw and notebook format at my Github repo. Please keep in mind that this is just a very basic example of how you can get started with the RAG approach, there are many ways to improve upon this and I should add that Microsoft has made this extremely easy for those of you familiar with Azure and Azure Machine Learning.
I do my best to stay on top of this space, but it changes very, very quickly. For even more up-to-date insight on AI, check out Fred Bliss’s newsletter.
Thanks for reading, hope it was helpful!
